The Followers

Showing posts with label THE FACESHOP. Show all posts

Monday, March 7, 2011

Born Pretty Store - Radiant Pearl review


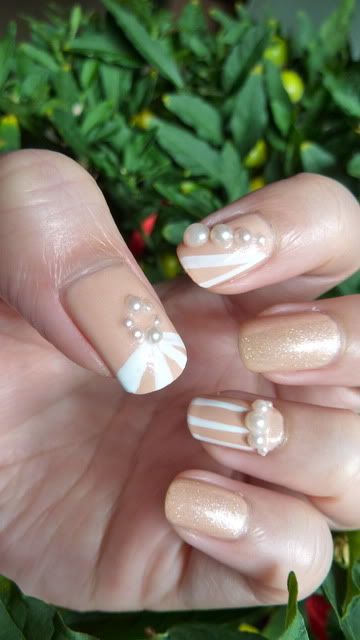
I find pearls to go very very well with palette cleansers* (aka nude, neutral or mellower colours). 
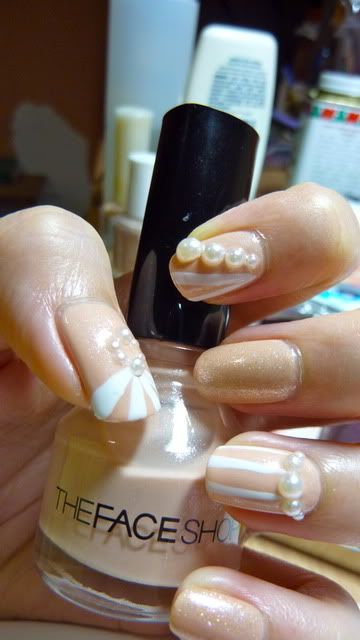
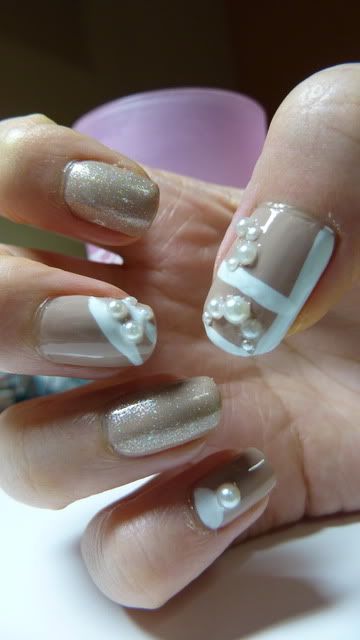
I have my dream come true with Born Pretty's wheel of pearls from various sizes!! Mine came in only one colour, the silvery pearl that looks so radiant under natural light :)
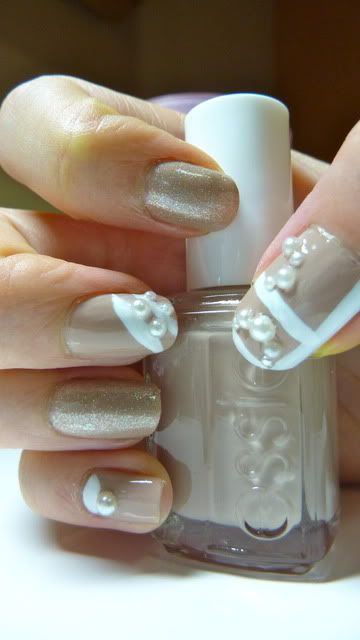
Knowing myself, I had to break out at least 2 colours with each or most of my manicures :P And this above photo shows Essie's Jazz with Daiso's white nail art enamel and Born Pretty's pearls :)
Essie's application was smooth and 2 coats was needed. 

I added Daiso's biege sheer colour for the added shimmer on Jazz.


This is The Faceshop's colour, BR802, a nude with silver glass fleck-y shimmer, very subtle and feminine. 3 coats to perfection in coverage. 

This seemed like a better mannequin hands colour on me than Jazz was. Jazz was a tad dirtier, with possible grey tones to it. BR802 seemed more peachy. 
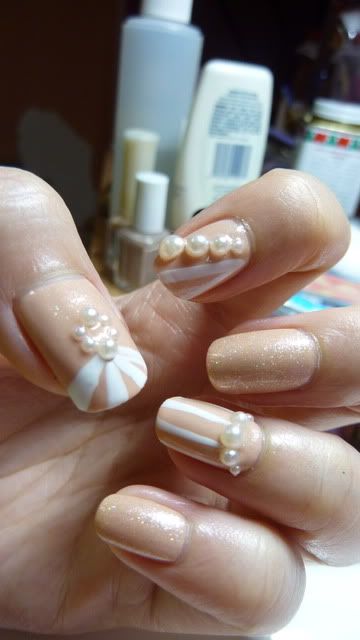

Love this a lot!
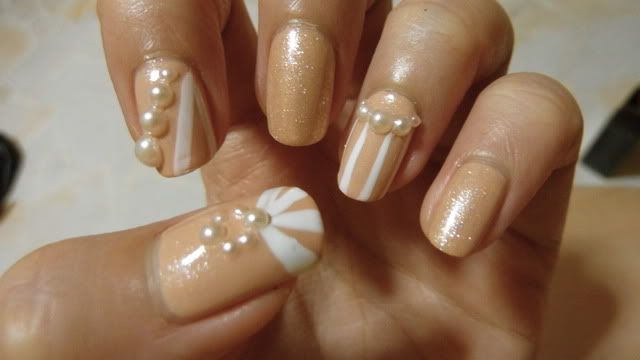

Look at how the pearls shine. I love the different shapes of the pearls as they added very good variety to this manicure. 

This is the one I got:
http://www.bornprettystore.com/sizes-nail-pearl-rhinestone-decoration-wheel-p-287.html

3 different sizes, one colour. There's also the multi coloured one that you might want to check out :)

I might want to use these pearls on a card sometime ;) 

For those who are new to nail art,
you just have to gloss on a layer of clear varnish or even a normal top coat (no quick dry please!)
and then use a pair of tweezers to pick up the flat-back pearl and place it on your nail. 
Gently press down to secure the position but not too hard or u see the varnish pooling on the sides of the pearl :)
Then seal the whole nail with top coat (quick dry or not) to complete your manicure.

*Born Pretty Store provided me with this item for an honest review. The lacquers in this post are from my own collection, paid for by me. 


Tuesday, January 18, 2011

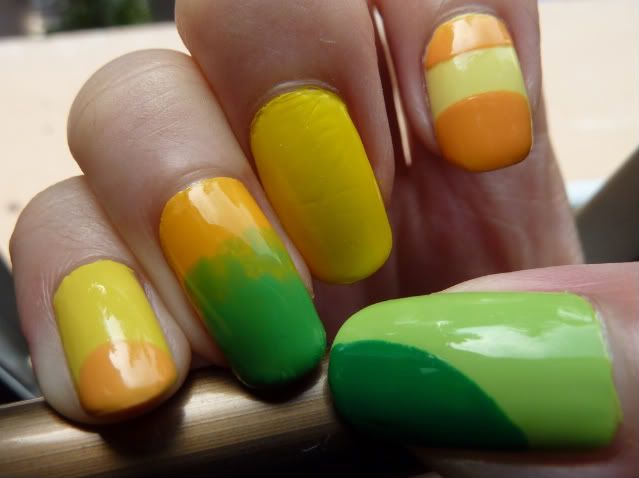
Lemony Ombre with a twist!

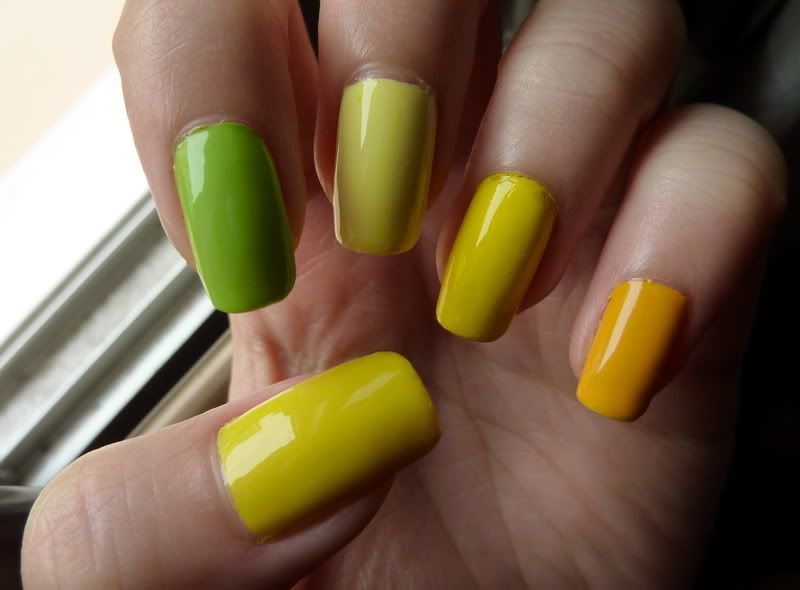
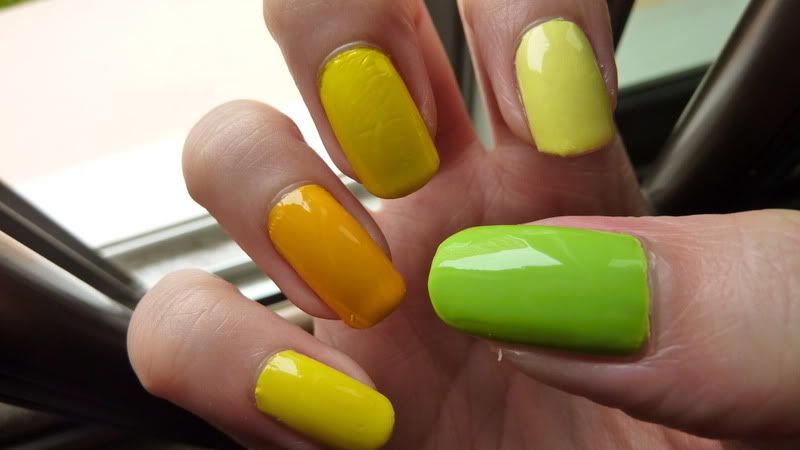
Used 5 different polishes for this look...
Thumb: Barry M Lemon Ice Cream (thin formula, needed 3 coats), Nature Republic's GR 602 (paler green than in photo, think apple green), The Faceshop's YL 701, Elianto's Yellow/#23, Essence's Sundancer :)
See the sheet marks there? LOL The pastels were kinda hard to apply, a little thick so my layers became pretty uneven. Maybe a little thinner might do the trick? :/
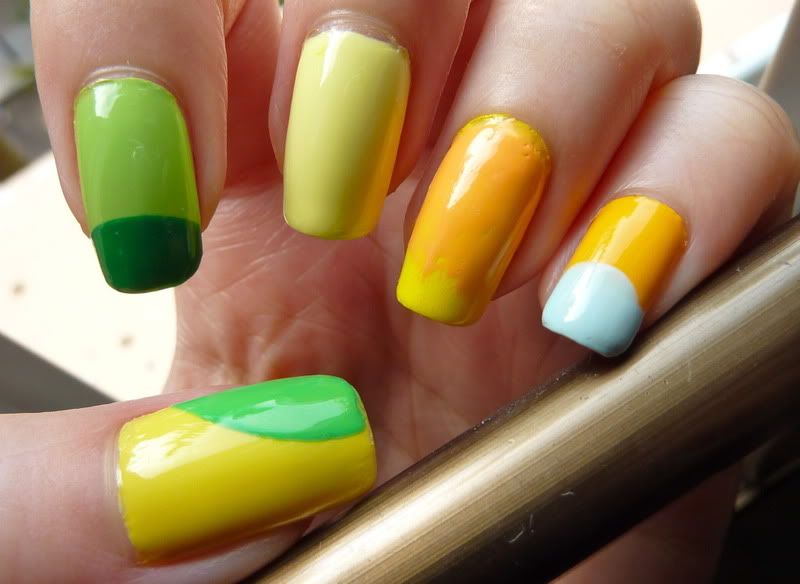
2nd and I was kinda bored... so I added stuff*
The lighter green on thumb is Essence's Check Me Out, the darker green on index is Essie's Pretty Edgy, the orange on 4th finger is The Faceshop's OR201 and the blue is The Faceshop's BL601..
*phew*
and tadah! I had fun doing this, although I changed my mani that evening LOL.
I relied on some lousy nail guides meant for French nails. The sides kept lifting as it dont adhere well to my nail, or maybe my nails are too curved? :/

Thanks for all the lovely comments so far :)) Im fast approaching another milestone, BUT whats more important is the friendships I have forged with some of you, whether through e-mails, inquiries or swapping :)
<3 to all and sending positive energy to you if you ever need to feel uplifted! 


Saturday, January 8, 2011

how can i forget to show this!?!?!?

This is a purple blue duochrome with slight frost finish. Applied quite thickly but with Seche Vite, dries pretty decently. Just be careful not to cause dents!


Lovely lacquer :)

This is Wet N Wild's Eggplant Frost! LOVE THIS SOO MUCH. got this from a giveaway: )

Added OPI's Show it and Glow it ;)

Deeper royal purple with strong blue flash :) Applied very well in 2 coats for opacity :) Need a backup of this! <3

Saturday, January 1, 2011

2nd last manicure before 2011 :)


OPI was streaky as hell! but it was a pretty pink, a tad too stark white. but it will do fine as a base for nail art :) 
I did this simple manicure with the theme of PINK :)
love it!

Tuesday, December 28, 2010

Xmas Manicure #8: Special Edition! Tron inspired nails!


Are you able to spot the N in TRON on my nails? :)
Thought the movie was cool so I did my nails based on the movie's colours  :D
Used Daiso Black Stripper Brush and Elianto's neon orange colour and THE FACESHOP's pastel blue :) 

Monday, November 1, 2010

Long overdueeeeee~ + NAIL MAIL!

 The legendary lazy-ass in my house, after me, of course!

 Used 2 kinds of purple here: one by Nature Republic, one by China Glaze First Class Ticket (ring finger) + rhinestones
Close up of the Nature Republic's colour. Pardon the bubbling :( took me 3 coats as polish was rather sheer.A little frosty finish to it, but also metallic. Hmmm.
The right hand: 2 kinds of blue: one by The Face Shop, one by Orly La Playa (ring finger) + rhinestones
The blue by TFS has pink and purple sparkles, very pretty... 
As seen in this pic :D 
Now for some red jelly :) 2nd attempt with Elianto's Grape Vine! Loved it this time round. Squishy jelly indeed and dries so glossy, no topcoat needed! The middle finger had more polish on, hence a darker red... 
A right hand design with a mega crystal on it LOL. 
VNL. But doesnt bother me! Under OTT light and artificial lighting, looks vampy ;) but in the sun, looks like a pin-up red! <3
Left hand: Added Lubu Heels by China Glaze to my index finger in a V shape... added Orly Red Carpet on ring finger... and added Golden Rose Care + Strong red glitter on middle... 
Trying out how the glitter works on this as a base :) 
Bottle shot :)

Orange with golden shimmer (almost glass flecky) with hand drawn leopard prints lol.
Loved ChG's Orange Marmalade, and this is my closest version to it, so I am not getting that! *phew*

 Added some glittery orange polish by Caerphilly over it. Bad idea. :(
 My right hand looks better :) did the glittery before the leopard prints :) but looks a little un-leopardy LOL.
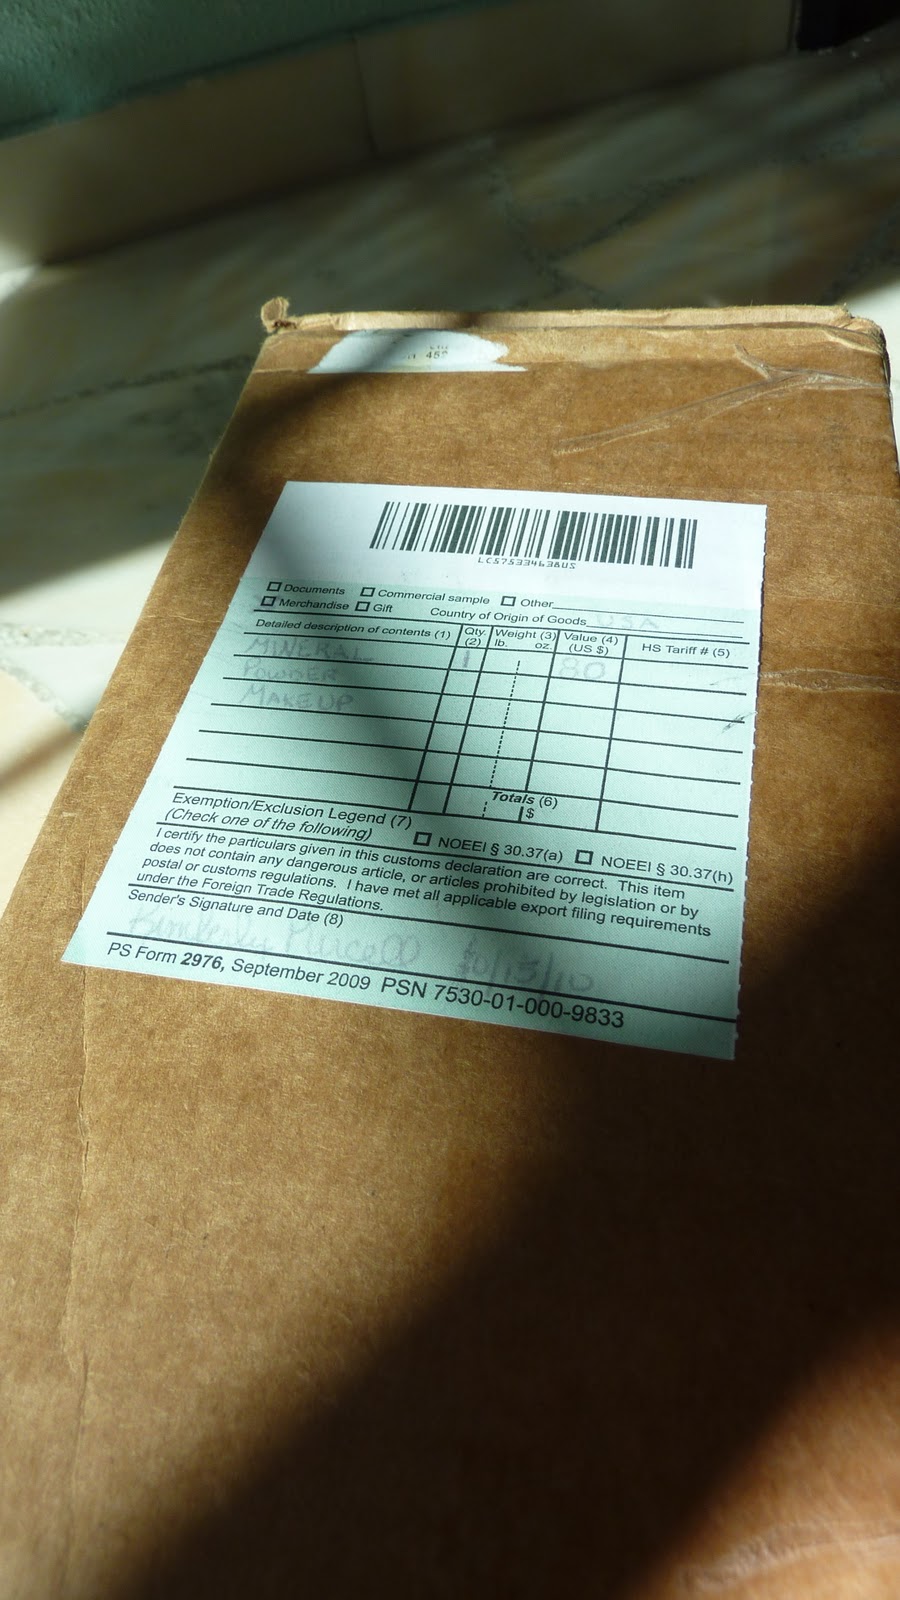
 I've got mail!!! :D From USA! wheee
 Goodies I won from Kimberly's Vampy Giveaway on her blog :)
 She threw in delicious goodies!!!
 And make up items too! oh my!
my mum was so excited about it she swatched some on her hand lol before I could unwrap my polishes lol... :D
I LOVE THIS SOOOO MUCH. I WISHED IT WAS SOLD IN SINGAPORE!!!!! :'(
Thank You Kimberly for this awesome package!! :)

Saturday, October 30, 2010

Brown poo-y manicure! LOL

I have 10 different designs on both hands. Not very cohesive. But at least from the same colour palette :) 
Would appreciate comments! <3
 Freehanded the animalistic print on my middle finger.. with a dotting tool~ pretty amazing cuz the polish was gloopy and thick. (The Face Shop)
Base colour is the same for all. The Face Shop brown, it has been discontinued. 

Polishes used: Swing Baby by China Glaze, You Dont Know Jacques Suede OPI, Kitoko Kalani in 1224 (golden brown), The Face Shop brown, hex and silver glitter in clear base, Ottie hex and gold glitter in clear base, Seche Vite topcoat for some nails... and rhinestones!

:)

Have a great weekend and enjoy your Halloweeeeen~~

btw Im on a polish frenzy. Some hauls coming in, cant wait to show ya'all!

Saturday, October 9, 2010

in the mood for glitter love..

I have not laid my hands on any Burlesque yet! Argh~ I know.. but I have two glitters to tide me through this lemming... so until I decide it's time to get some, I'll rely on these to make me happy. Besides, it is a PITA to remove them! haha. 


These are shots of this awesome shiny glittery goodness I had on for abt 3 days :) 
The base was done with Beauty Credit's Silver Drop, featured in my haul post just recently.
Then I did two coats of Armour Rain Glitter, careful to fully coat the half of the nail from the cuticle.


Then i added 2  -3 coats of Finger Paints' Wicked Glitter from the tip. To create the gradient, focus on the tips and stop halfway down the nail. 
I topped it with Nail It silver glitter and hex hologram in clear base, frm the cuticle outwards. The silver glitter will add a clearer gradient look :)
Topped with topcoat to prevent the gritty nail surface from pulling hair strands when running hands over hair HAHA! vain, i know :P

p.s the first two photos are taken by my sister with Lumix LX5 :) 

Love the bottle of Finger Paints, round and bottom heavy. The brush works awesome too! Both glitters dried fast so better to work fast while u uncap them. Im gonna thin them a bit before I use them again! 
This is an absolutely quick and dirty mani that I suggest for days u are tired and just need to have shiny awesome nails to spice ur day up! 
I also suggest using this technique with the Burlesque glitters!!! I wanna see how they look :D 
Just a heads up, look out for the next post! ;)